
Super Soft Raisin Bread
With raisins and orange zest, lightly spiced with cinnamon and nutmeg. Stays soft for days!

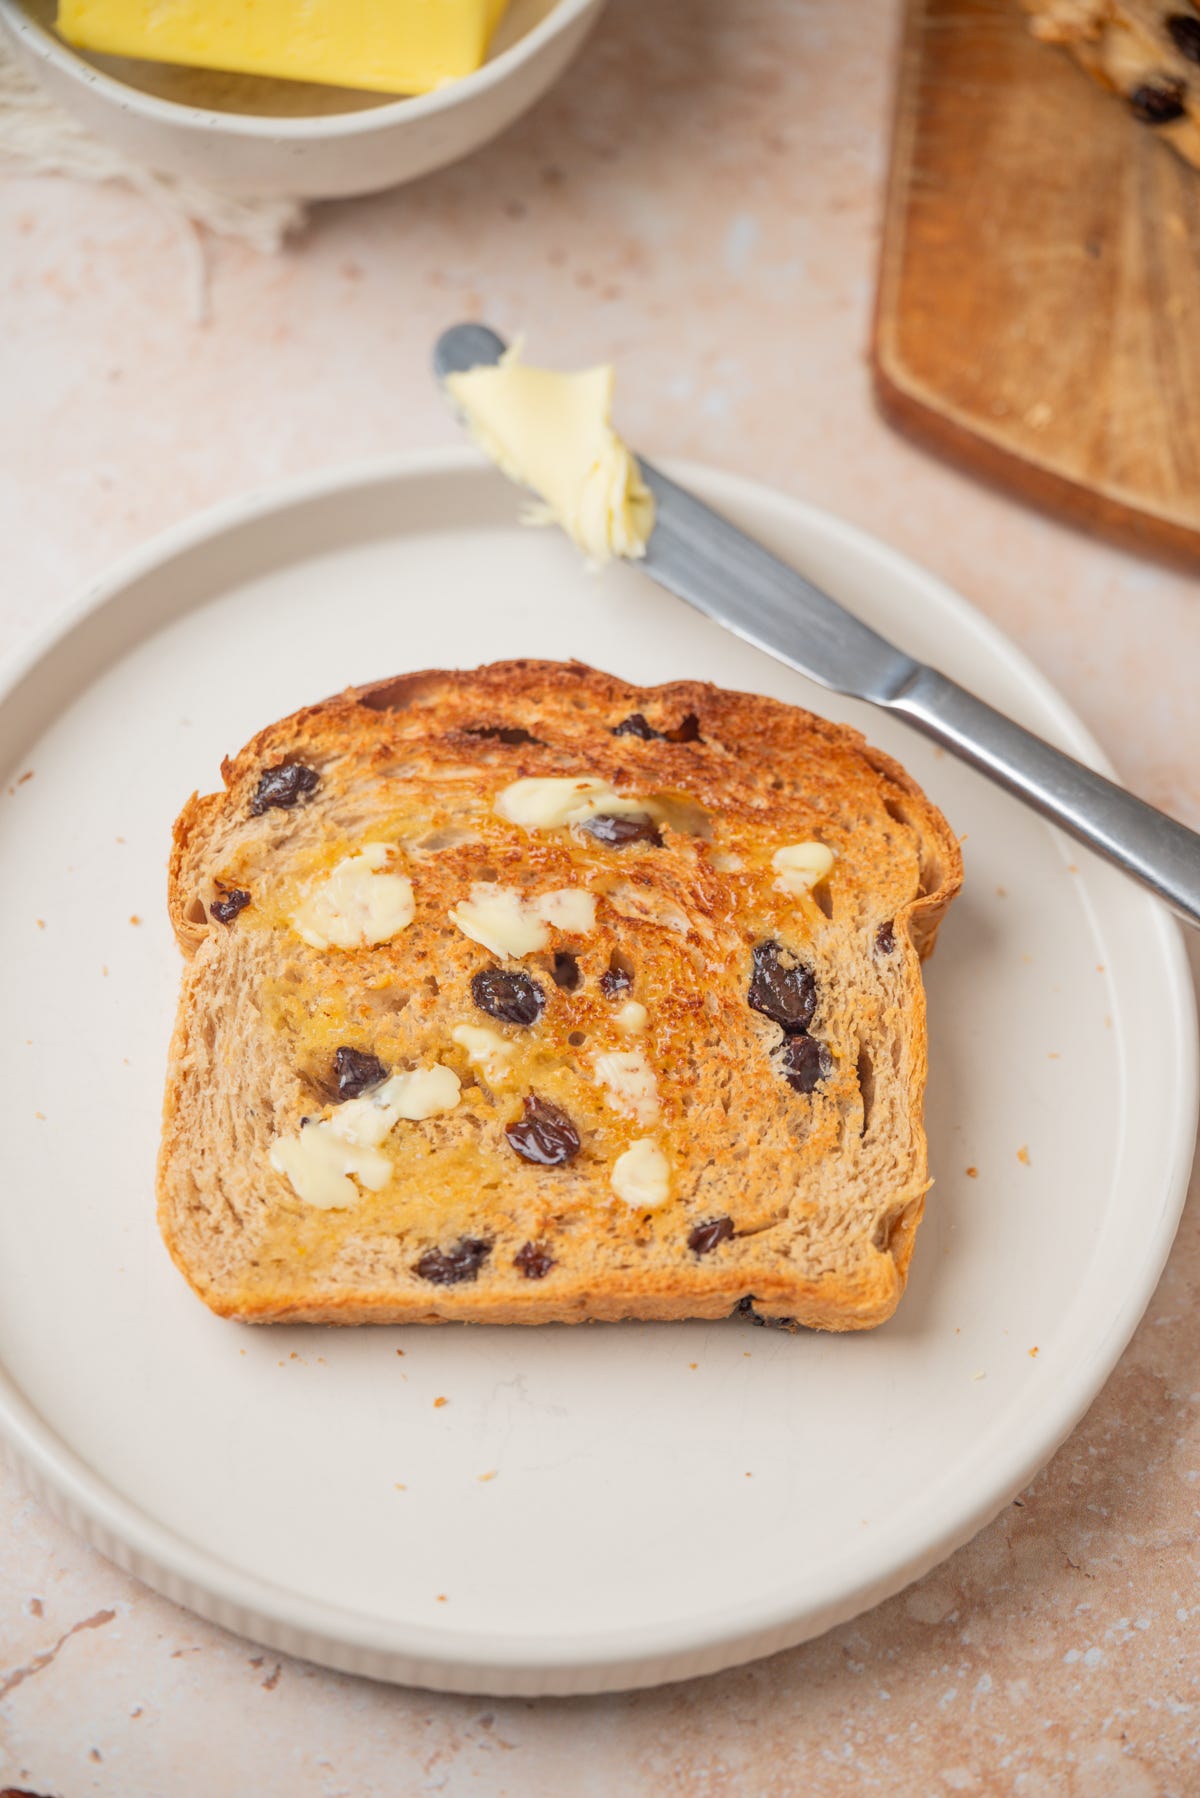
Raisin bread was my morning sickness cure when I was pregnant. I’d have at least two slices first thing in the morning, toasted until really crisp and slathered with a lot of butter. What I bought then was a spiced fruit loaf from the brand Tip Top but they have since changed things a bit and the newer version seems to have less fruit than it used to and it's just not as good. But that's okay, because I now make my own version and I like it so much more. It has enough raisins that you get some in every slice, and it's lightly spiced with cinnamon, nutmeg and a bit of fresh orange zest.
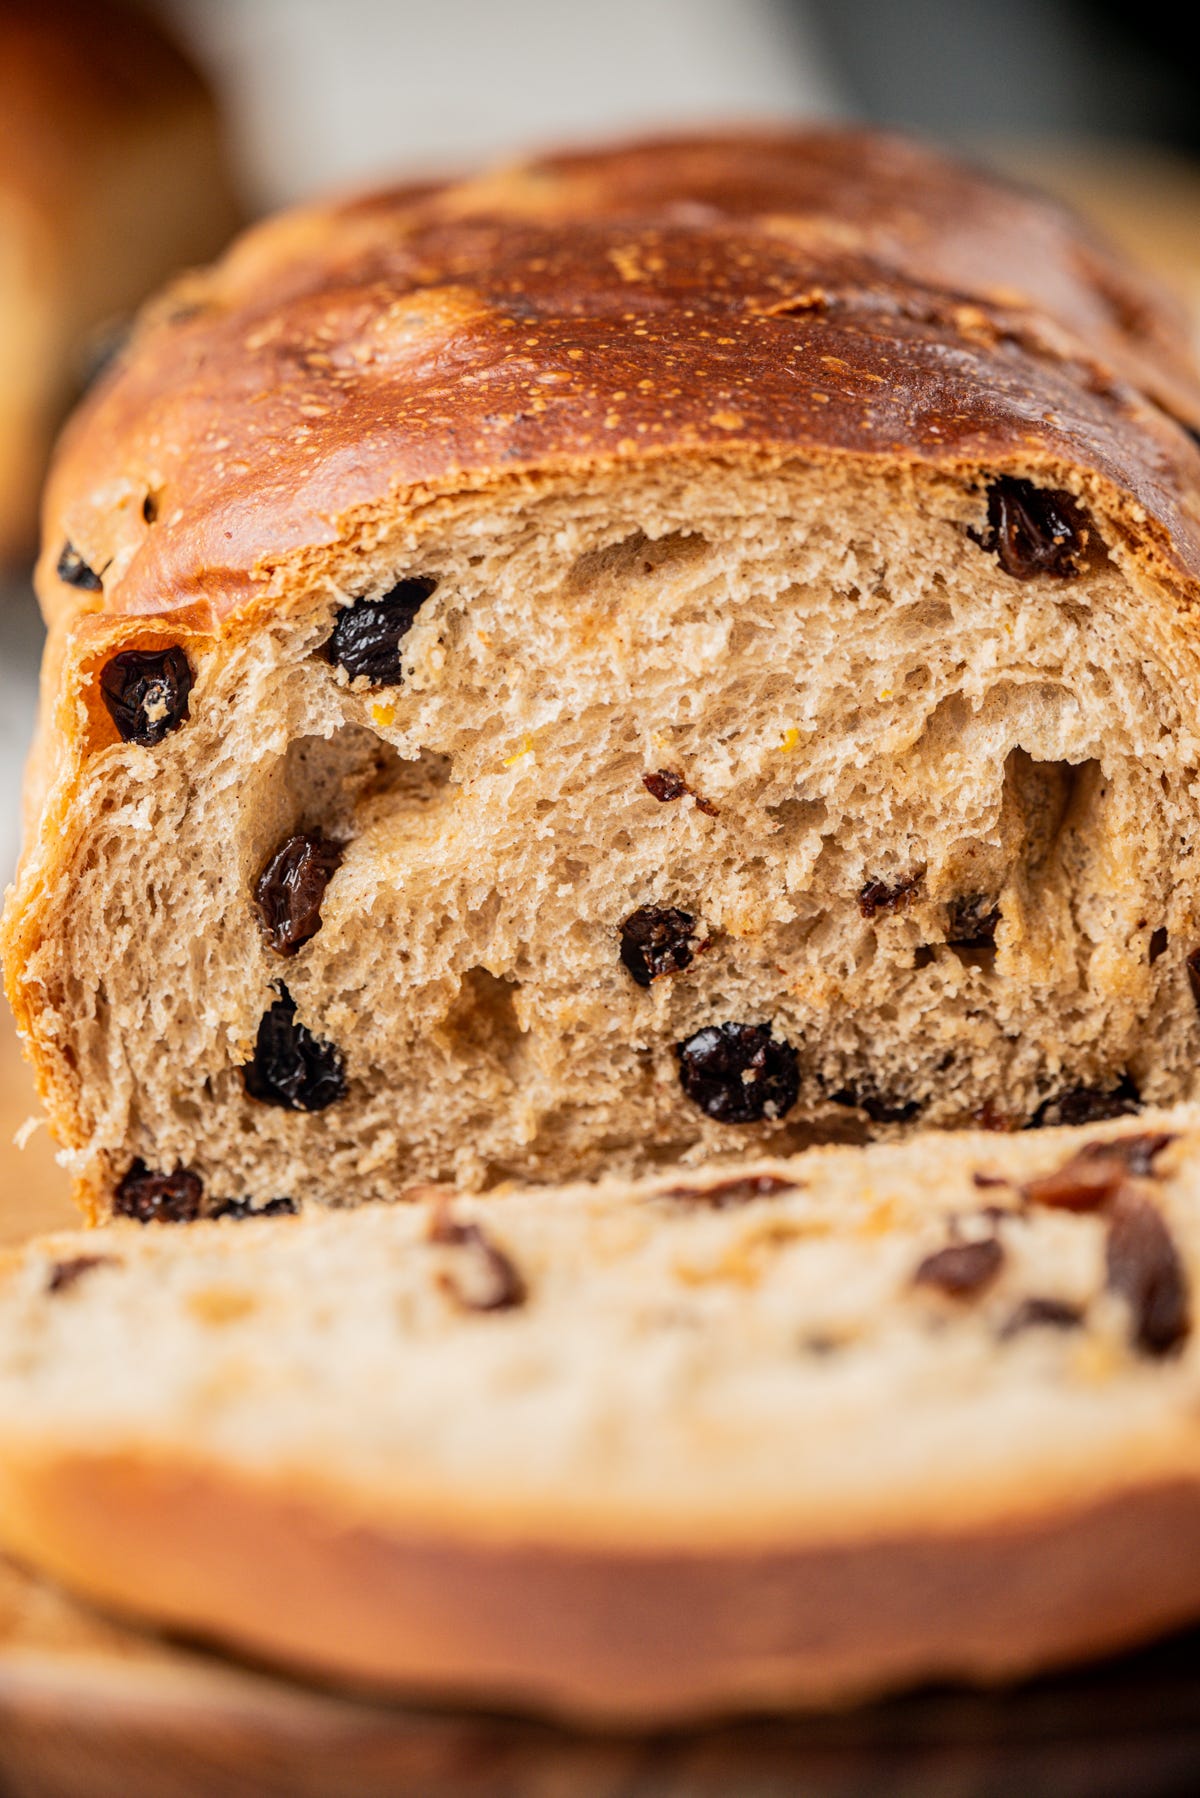
Enough fruit isn't the only key thing to a good fruit bread. I wanted a bread that stayed soft for days, not dry. Because, even though I love mine toasted, others in my family like theirs fresh, so in that case a dry bread is the worst. So this dough is enriched with butter, for flavour, and a small amount of oil. An oil like olive oil or rice bran oil stays liquid at room temperature, and that's what helps keep the bread soft. Coconut oil doesn't work the same way because it, like butter, goes solid at cooler room temperatures. There's honey in the dough too, and that isn't just for flavour. Honey holds onto water, so it helps keep the crumb soft for longer, and it gives the crust a bit more colour.
This is an egg-free recipe. I wanted the bread slightly enriched, but not so enriched that it turns soft and cakey. Egg yolks bring fat and lecithin, and that fat coats the gluten strands and makes the crumb tender and short. That's lovely in a brioche, but it isn't what I want in this particular raisin bread. This one is feathery soft and pulls apart like a dream, but it still has a proper bread texture rather than a tender cake one.
This dough is soft and a little sticky to handle, so it's easiest in a stand mixer. But if you don't have one, fear not, it can also be made by hand. Just make sure to develop the gluten fully before adding the fats, because they slow gluten formation down. More on that below.
I’m using Substack’s recipe card for the recipe below but it doesn’t have space for process photos. So I’ve included process photos and in depth information in this post and then the recipe card will give a higher overview.
The fruit
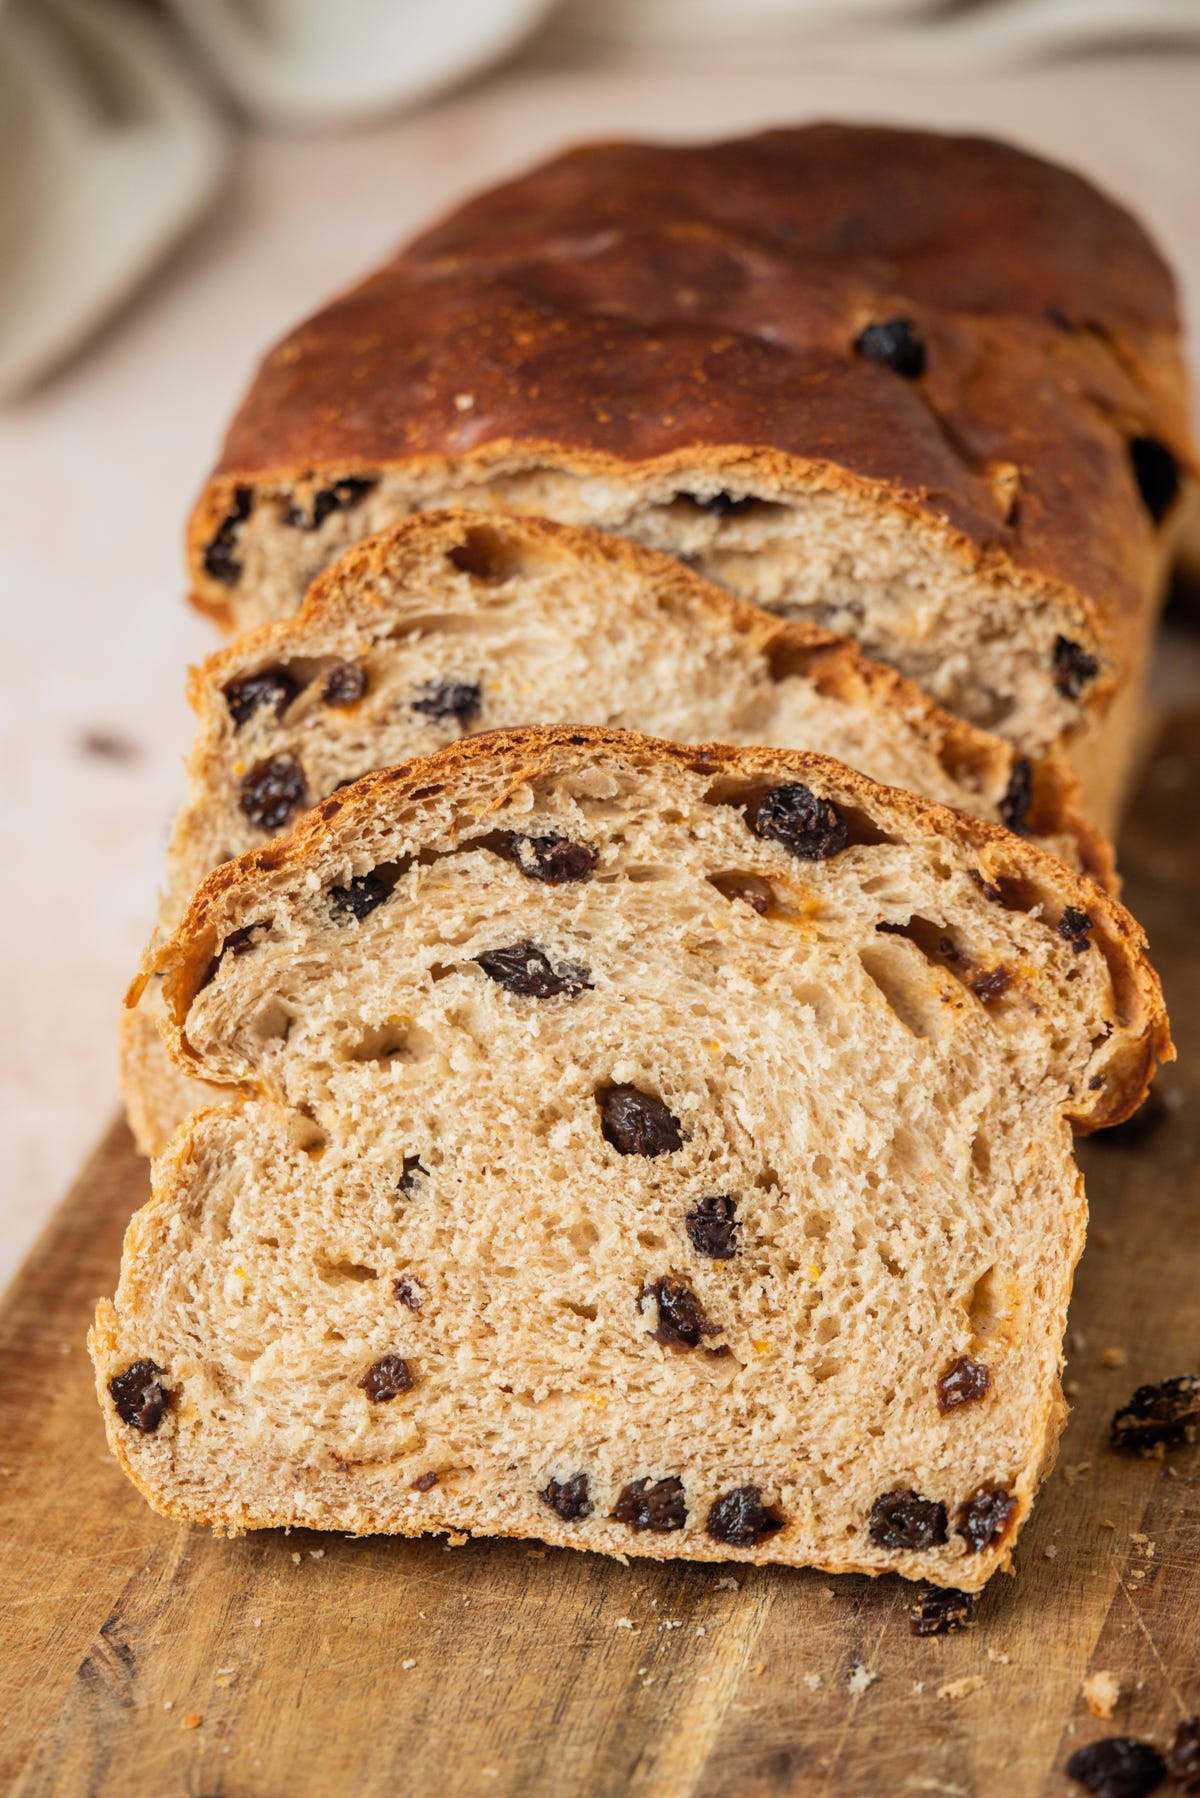
Tip Top adds sultanas but I add raisins. Sultanas come from seedless white grapes and are usually treated to speed up drying, so they stay lighter and softer. Raisins are dried longer and end up darker and chewier, which is my preference. If you prefer the juicier, softer sultana, use those instead. Other dried fruit would work too, like cranberries or apricots. I soak the raisins in hot water for a while before adding them to the dough. This is because if you add them while dry, the raisins will pull water from the surrounding dough and it creates these little dry pockets. A soak, then drain and give them a gentle squeeze so they don't add too much liquid back, fixes that.
I love adding fresh orange zest into the dough too, because it’s so fragrant and it lifts the cinnamon and nutmeg flavours. You could use lemon zest too.
Kneading the dough, by hand or mixer
Whether you are kneading the dough by hand or in a mixer, you usually want to mix it without any fat added first. This is to get the gluten formation going, before any fat additions slow it down. If you miss this step and add it all at once in the mixer, it becomes a longer process to get the dough strength formed.
It’s not that there’s a lot of fat in this dough. It’s the oil that causes the issue. Because it’s already liquid, it coats the flour proteins straight away, where soft butter goes in more gradually. So the key is to knead the dough prior to the fat. What you’re looking for either way is windowpane texture, which is when you can stretch a bit of dough out with your fingers, so thin that light comes through it. In a mixer, 5 minutes of initial kneading, then feed the fat in slowly, in increments, until incorporated. After that keep the mixer going until you reach windowpane.
By hand, the best way to hand knead a dough like this is with a slap and fold method. This is when you pick the dough up, slap it down on the bench, then flip your hands forward so the dough pulls off. And repeat.
I work in intervals to make things easier. Slap and fold for 3 minutes, then cover the dough and rest it for 2, and repeat. The rests are helpful to your arms and also the dough because while it sits the gluten relaxes and rearranges itself, so each time you come back to it you’ll find it softer and less resistant than when you left it. Just keep the dough covered with a damp tea towel while it rests so the surface doesn’t dry out.
Once you’ve got windowpane, work in the oil and the butter, which will incorporate much more easily now the gluten is developed. The dough will look like it’s fallen apart for a bit. Keep slap and folding and it will come back together, and you’re done when it passes the windowpane test again.


Kneading by hand video
Adding the raisins
The raisins are added in after all the mixing is completed. You don’t want to add them in during the kneading or they break up and smush into the dough. You can add them into the bowl and stretch and fold them into mixed dough, or do it on the bench like pictured below. Grease the bench lightly, then stretch the dough out into a square. Add on half the raisins and spread them out. Fold the top third of the dough down into the middle, and add half of the remaining raisins on. Fold the bottom third of dough over top, like folding a pamphlet and add on the remaining raisins. Now starting from the short edge, roll it up into a roll, then use your hands to roll it on the bench into a ball. The dough will feel sticky where the raisins are because some moisture will still be on them. You don’t need to worry about trying to knead the water back in because you’ll undo the distribution of raisins we’ve just done, and they can go flying everywhere when you try slap and fold it (speaking from experience!). The dough is already developed at this point so any extra water will even out during the first rise.


Pan sizes
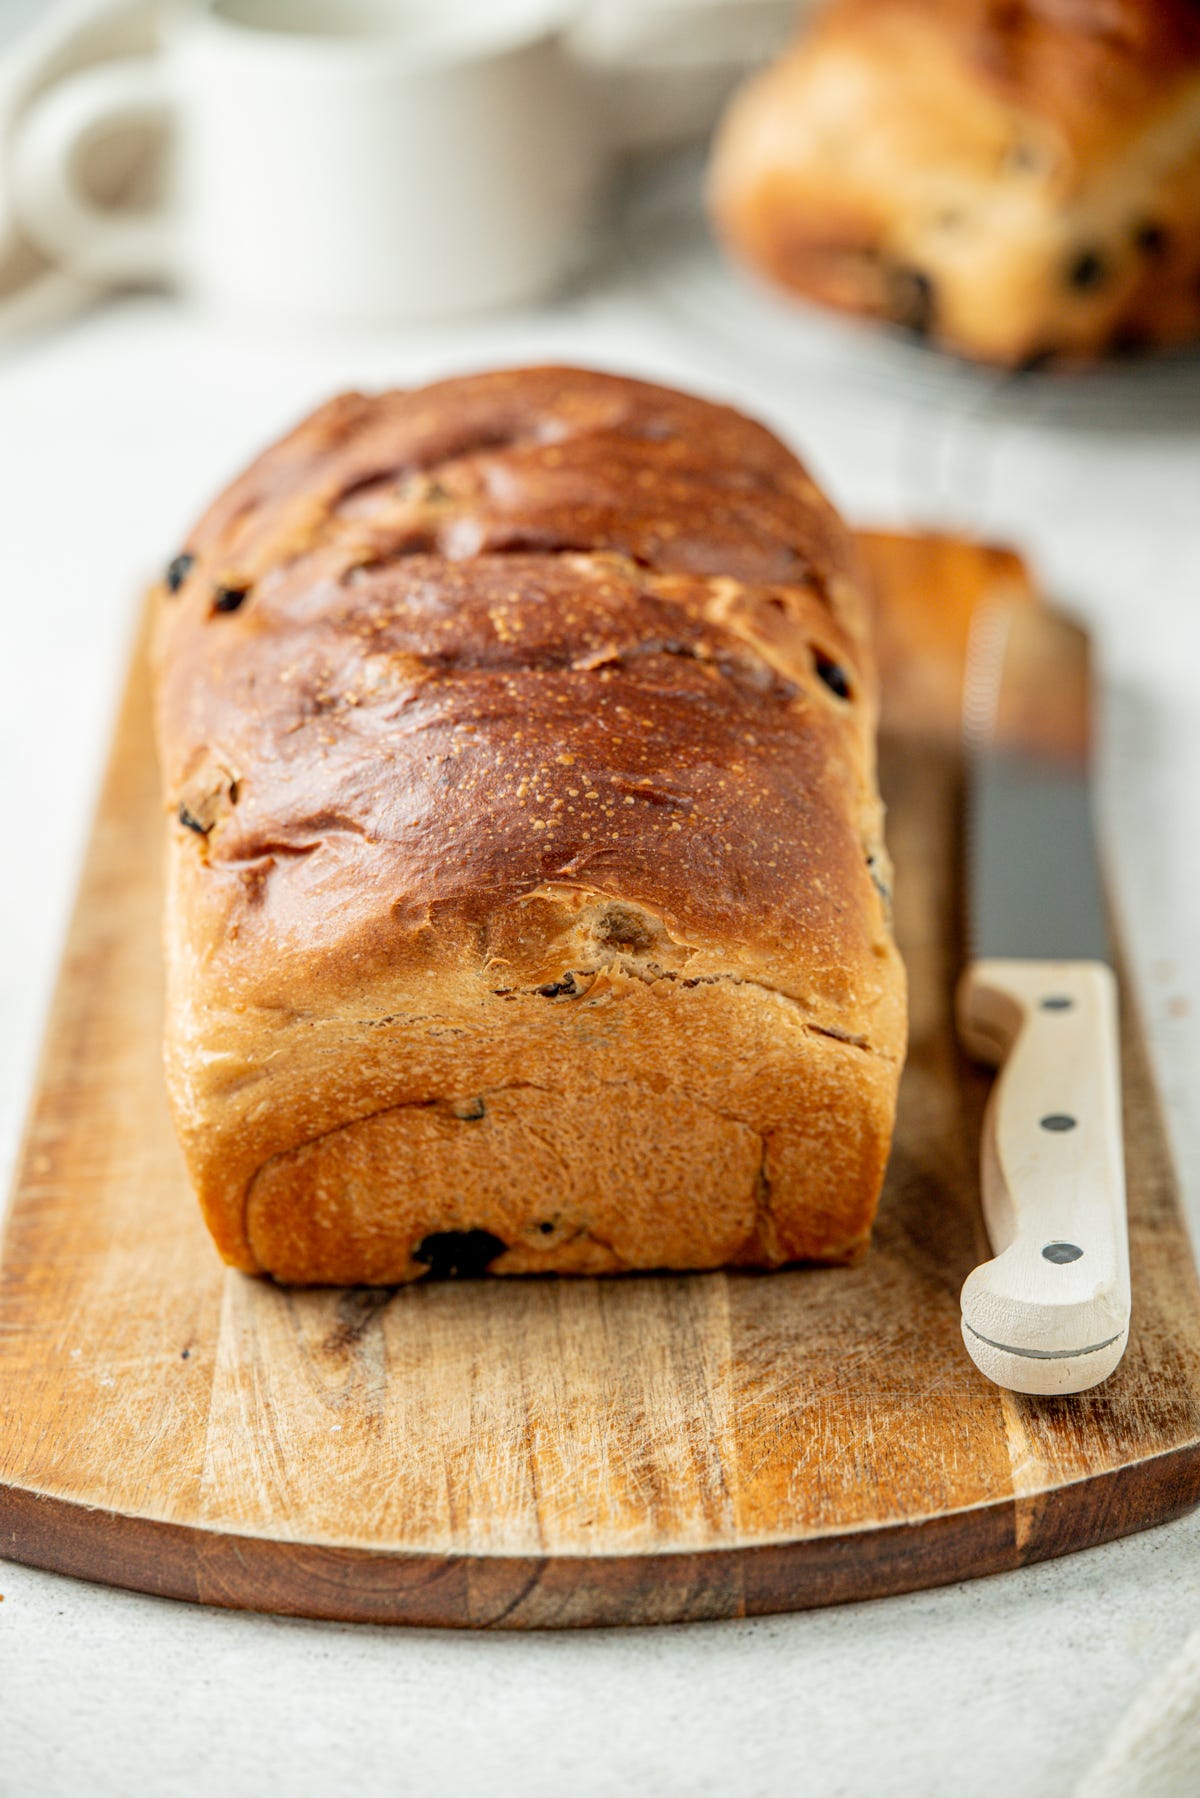
I've made this in both a 9x5 inch pan and the smaller 8½ x 4½ inch, and both work well. The smaller pan gives you a taller loaf with more of a dome, the larger one a slightly wider, flatter one.
Serving and storing
This bread stays soft for days, stored at room temperature in an airtight container. And it also freezes beautifully. I think it’s easiest to pre-slice it and then pop it in a freezer bag, so you can easily grab a slice or two as you need it.
Happy baking!