


My Favourite Flaky Pie Crust
This is my go-to flaky pie crust. It’s buttery, tender and super flaky.

It’s an all-butter crust, and it’s laminated a couple of times to create all these lovely layers.
I use a handheld pastry cutter to cut the butter into the flour. This is great to control the size of the butter pieces in the dough to create an extra flaky crust. You can, however, make this in a food processor, too, if you need to. Just don’t cut the butter pieces too small.
Top Tips
Keep the butter cold at all times. If the butter melts into the dough while you’re making it, it won’t be flaky.
Work the dough as little as possible. Kneading dough encourages gluten development. In this recipe, the dough is rolled into layers instead of kneading.
Add the right amount of water - not too much or too little. Water reacts with the protein in the flour to develop gluten. The pastry dough should have enough water to hold together easily when pressed, but it shouldn’t be sticky. In the same respect, if you add too little water the dough will be crumbly and you won’t be able to roll it out without it breaking.
Add some acid to the dough. An acid like lemon juice or vinegar helps break down the developed gluten bonds.
Let the dough rest. Once the pastry is mixed, let it rest in the refrigerator so the gluten can relax. This will help with rolling the pie crust and avoid shrinking in the oven. After rolling and shaping the pastry, let it chill again before baking.
Some recipes use cold vodka instead of some of the chilled water in the pastry. This is a good idea, as vodka doesn’t encourage gluten development like water does. This means you can still add liquid to the dough to form a dough, but it won’t make it tough. You can substitute half the ice-cold water for cold vodka. As the pie bakes, all the alcohol evaporates from the dough.
Use enough pie weights when blind-baking. If you are pre-baking this crust, ensure you’ve got enough weight to hold down the pie dough from puffing, and also to stop the sides slipping down on the edges. The pie weights should fill up the whole dish. I use around 1kg of uncooked rice as my pie weights (this can be reused time and time again).
Ingredients
This makes two 9-inch pie crusts. You can find the printable recipe here.
225 g (1 cup ) unsalted butter, cold
315 g (2.5 cups) all-purpose flour
1 teaspoon sugar
3/4 teaspoon salt
1 Tablespoon lemon juice or use apple cider vinegar or white vinegar
150 g (10 tbsp) ice-cold water
Method
Begin by chopping the butter into cubes. Add the cubes to a bowl and place in the freezer for 5-10 minutes to ensure it’s cold.


To a large mixing bowl add the flour, salt, and sugar and mix. Add the cold butter cubes to the flour.
Use a pastry cutter to cut the butter into small pieces, or use your fingertips to rub the butter into the flour. The end result should be like coarse bread crumbs with a few pea-sized butter pieces in the mix. If the butter is melting at any point, place the bowl in the refrigerator.
Add the lemon juice to the iced water and drizzle around 3/4 of it all over the flour.


Use a spatula or your hands to combine the dough and add in as much more of the chilled water as needed, a drizzle at a time. It should hold together easily when pressed but not be sticky. If the dough is crumbly, add a bit more water.
Tip the dough onto a lightly floured bench and form it into a mound. Wrap the dough up tightly and place it in the fridge for 30 minutes before continuing with the next step.


Laminating
On a lightly floured work surface, using a rolling pin, roll the dough into a rough 10-inch/25cm rectangle. There’s no need to measure it perfectly, just lengthen it to around 10 inches.


Fold the bottom 1/3 of the dough up to the middle, then fold the top 1/3 of the dough over top to make a pamphlet shape. Turn the dough a quarter turn and repeat this roll and fold process once more.
Once finished rolling, cut the dough into two and use your cupped hands to gently shape each piece into a flat disc.
Wrap the dough discs tightly. Chill the container in the fridge for at least 1 hour or up to 2 days before using it. Alternatively, it can be frozen for up to three months.
Rolling pie crust
Roll one piece of the dough into a circle on a lightly floured surface so it’s around 1 inch/3 cm wider than your pie plate (and about 1/6 inch / 5mm thick.)
Lightly dust the top of the dough with flour, then gently roll it up the rolling pin like a spiral. Transfer it to a pie dish and carefully unroll it from the rolling pin until it drapes over the dish and overhangs the sides.
If your circle is uneven, cut off any excess dough around the pie dish to make it even, but make sure to leave around 1cm / 1/2 an inch of overhang. Fold the overhanging dough under itself and gently press together to make a thick border.
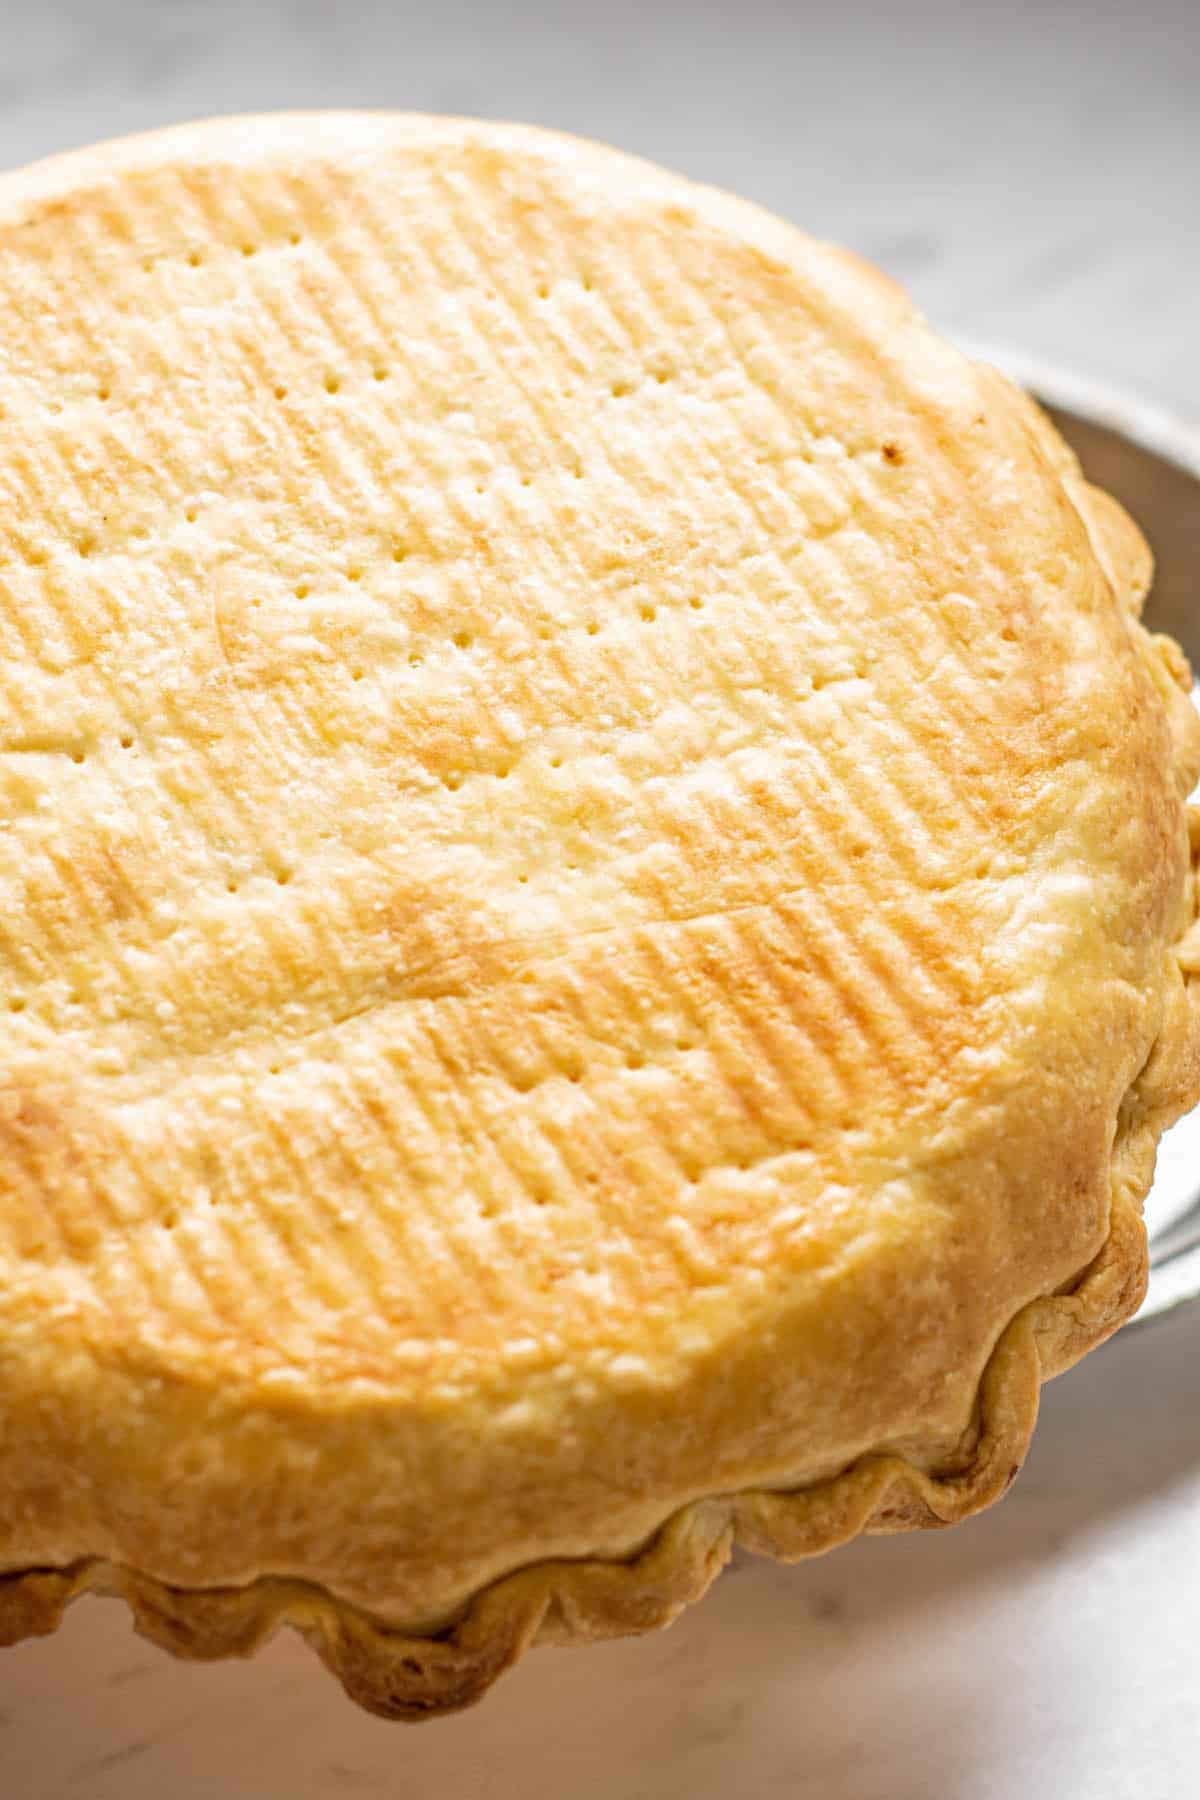
Double-crust
If the pie is a double-crust recipe, roll out the second piece of dough to the same size. Place it on the filled pie, and pinch the top and bottom crust together. Trim away any excess dough, but leave 1cm / 1/2 an inch of overhang. Fold the overhanging dough under itself and gently press together to make a thick border.
To flute, push a thumb from one hand into the dough edge in between the thumb and index finger and thumb of the opposite hand. Continue this all around the dough edges. Alternatively, you can use a fork to create rustic fork lines around the edges.


Baking
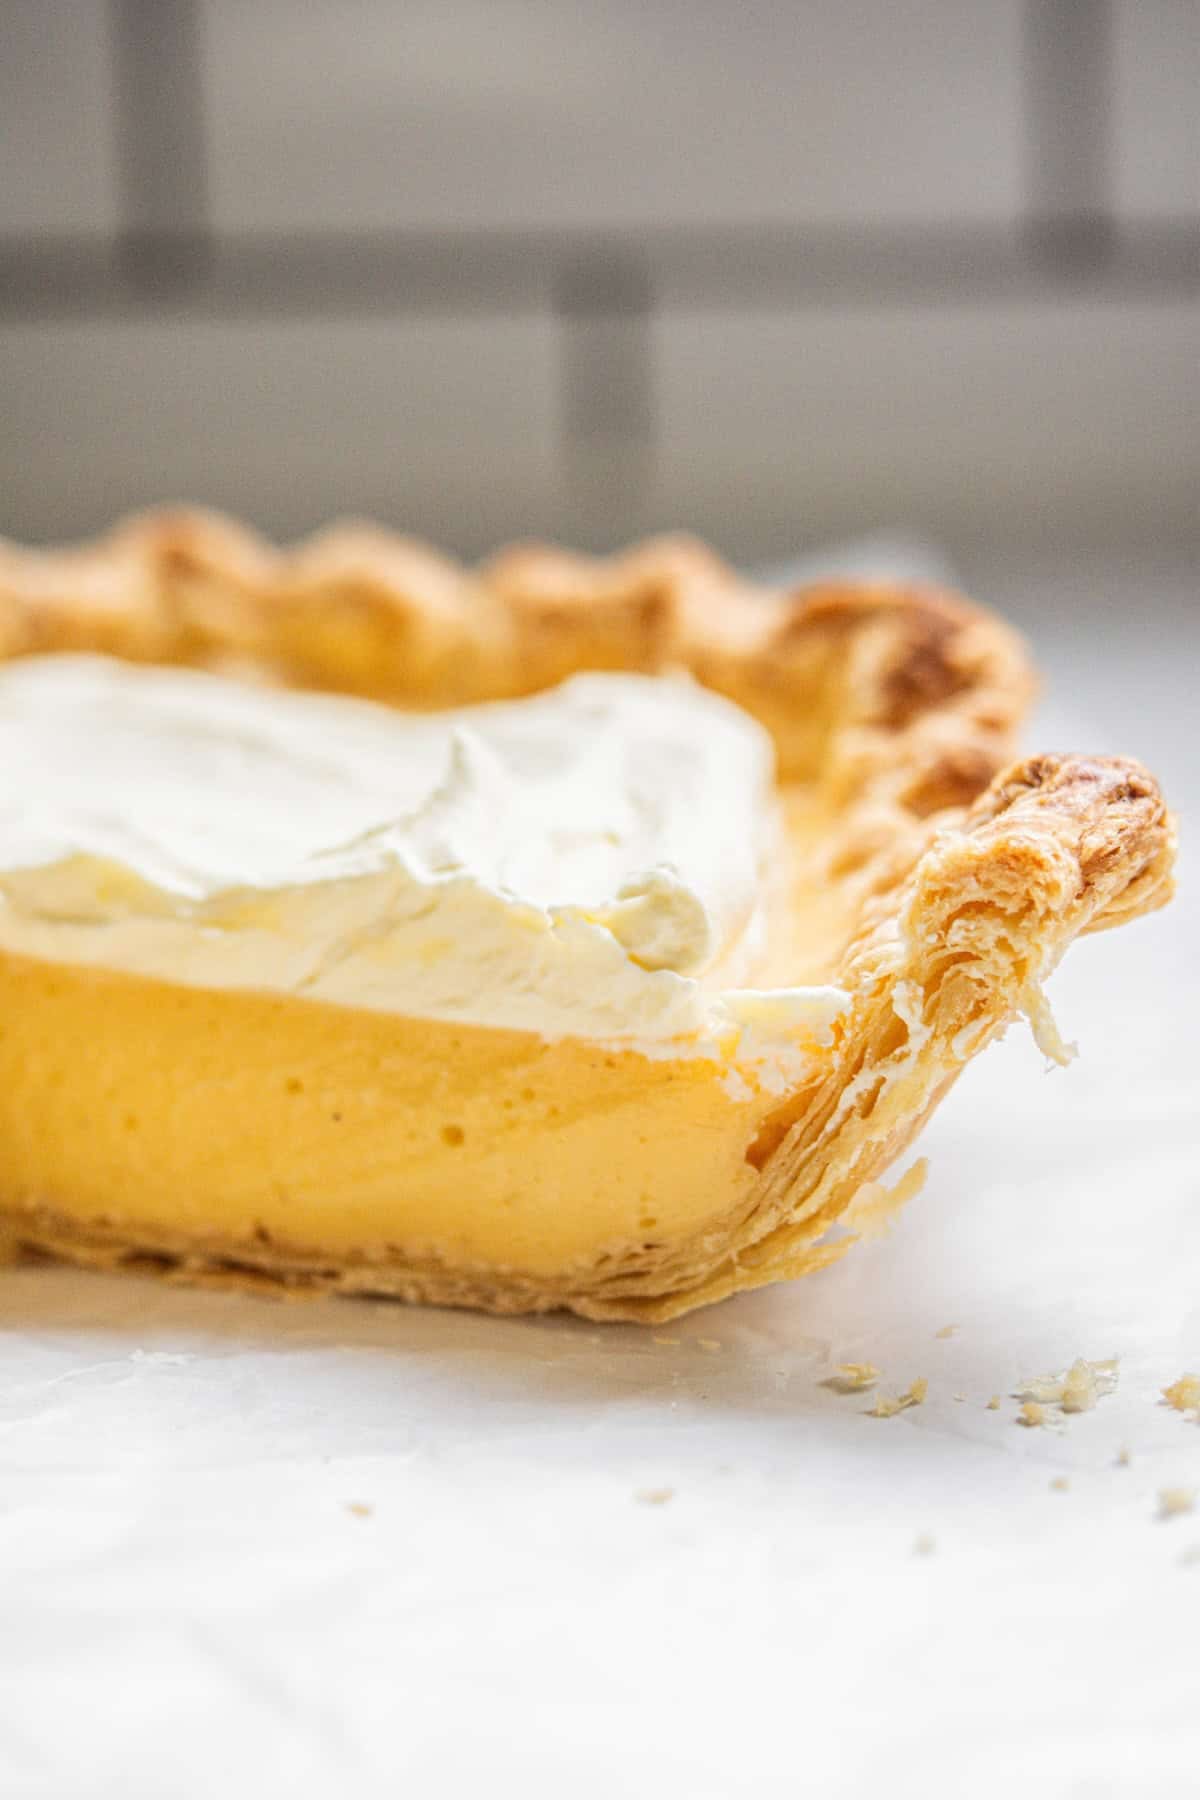
The baking of the pie crust is where all the magic happens. A delicious crust is crispy and flaky. The oven needs to be hot so that the water evaporates fast without the fat in the dough just melting.
The pastry should be baked thoroughly so it’s a deep golden brown and crispy. Under-baked pie crust is soft, pale, and soggy. It doesn’t matter how well you make the actual pastry. If it’s not baked well you will be disappointed.
Blind baking
Some pie recipes will require the pie crust to be baked fully or partially before filling.
When baking the crust on its own, it needs to be blind-baked first. Blind baking is a process where the unbaked pie case is covered with parchment paper and pie weights to hold down the bottom of the pie.
This stops the bottom crust from puffing up in the oven as the water in the fat evaporates. The filling will hold down the bottom crust for pies that don’t require this pre-baking step.
Partially Blind Bake Pie Crust
Partially baked pie crusts are helpful for pies that don’t need as long in the oven, to ensure the crust is baked properly without overcooking the filling.
To blind-bake, prick the bottom of the pie crust all over with a fork.
Line the crust with parchment paper and fill it with pie weights. Ensure that you have enough pie weights to fill the whole dish and push against the sides of the pie dish. I use around 1kg of uncooked rice as my weight.


Bake it at 425°F/220°C for around 15-18 minutes until the pie crust edges are lightly browned.
Remove it from the oven and lift off the parchment paper and weights. Place the crust back in the oven for another 2-3 minutes until the bottom stops looking wet.
Fill the partially baked crust with your filling and return it to the oven. Because the edges are already par-baked, tenting the outer edge of the pie with aluminum foil will prevent it from burning when it returns to the oven.
Fully-Baked Pie Crust
For pies where the filling does not need baking, you’ll need to bake the pie crust fully.
To fully bake a pie crust, blind-bake it as described above and remove the pie weights and parchment paper. Dock the dough with a fork again all over, as this puffy dough can sometimes rise up again.
Lower the oven temperature to 400°F (200°C), and return the pie crust to the oven for 15-20 minutes until it’s nicely golden brown and crisp-looking. You want to see some beautiful deep colour on the crust. A pale crust means it’s undercooked and it won’t be flaky.
Happy baking!