Homemade Marshmallows and Mallow Puffs
My boys have been off for their winter school holidays these past two weeks but they’re back to school today so I’ve been able to sit at the computer and get some work done, including writing up today’s recipes! First up I’ve got a vanilla marshmallow - a staple really. It’s thick and bouncy and melts into hot chocolate like a dream. Once you’ve got a base marshmallow recipe down, you can in lots of flavors and use it different ways. I make my marshmallows without corn syrup - that’s pretty standard in NZ but I know for my US readers corn syrup is often featured. It’s used in the sugar syrup to prevent crystallisation of the sugar (to avoid the marshmallow becoming gritty. ) However, you can avoid crystallisation in other ways too, like by not stirring the sugar syrup as it’s boiling (otherwise sugar crystals can form on the side of the pan.) To turn it into actual marshmallow, you just beat hot sugar syrup with bloomed gelatin until it’s thick and fluffy. After that you can spread it into a pan and cut into marshmallows once it’s set, or use it for something extra fun like mallow puffs!
What do you call these? In New Zealand they’re mallow puffs, but in Belgium we called these melocakes. Either way - they’re so good, with a delish mix of textures - the chocolate shell, the fluffy marshmallow and the crisp biscuit. For my Extra Bite subscribers, I will be sharing the recipe for these fun little cakes.
Homemade Vanilla Marshmallows
Ingredients
20g (2 Tablespoons) powdered gelatin
240g (1 cup) cold water
400g (2 cups) granulated sugar
1/4 teaspoon salt
1 1/2 teaspoons vanilla extract or paste
Dusting
30g (1/4 cup) powdered sugar
30g (1/4 cup) cornstarch or arrowroot flour
Method
Line a 9×9 inch pan with parchment paper, leaving an overhang. Lightly grease the parchment paper.
In the bowl of a stand mixer, combine 120g (1/2 cup) cold water and gelatin. Let this sit while you make the sugar syrup.
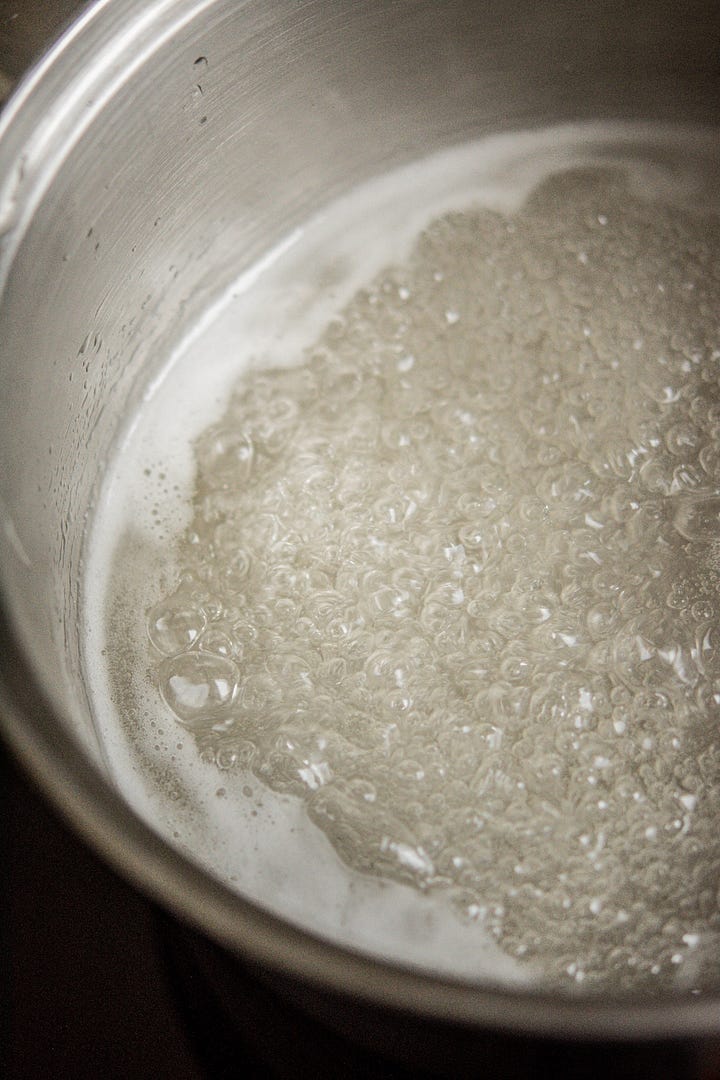
Combine the remaining 120g (1/2 cup) water, granulated sugar, and salt in a medium saucepan. Stir gently over medium-high heat just until the sugar has dissolved. Then stop stirring, let it boil, and cook until the mixture reaches to around 242°F / 116°C - 245°F / 118°C (use a candy thermometer to check or see how to do it without one below). You can occasionally place a lid on the saucepan, creating condensation that will push down any sugar crystals forming on the side. This whole process should take around 10 minutes.


How to test without a candy thermometer
Fill a bowl with very cold water. It should be close to ice cold for accuracy.
Once your sugar syrup has been cooking, drop a small amount into the cold water.
Use your fingers to gather the cooled syrup from the bottom of the bowl. If the syrup forms a soft, malleable ball that holds its shape until pressure is applied and then flattens, it’s in the firm ball stage.
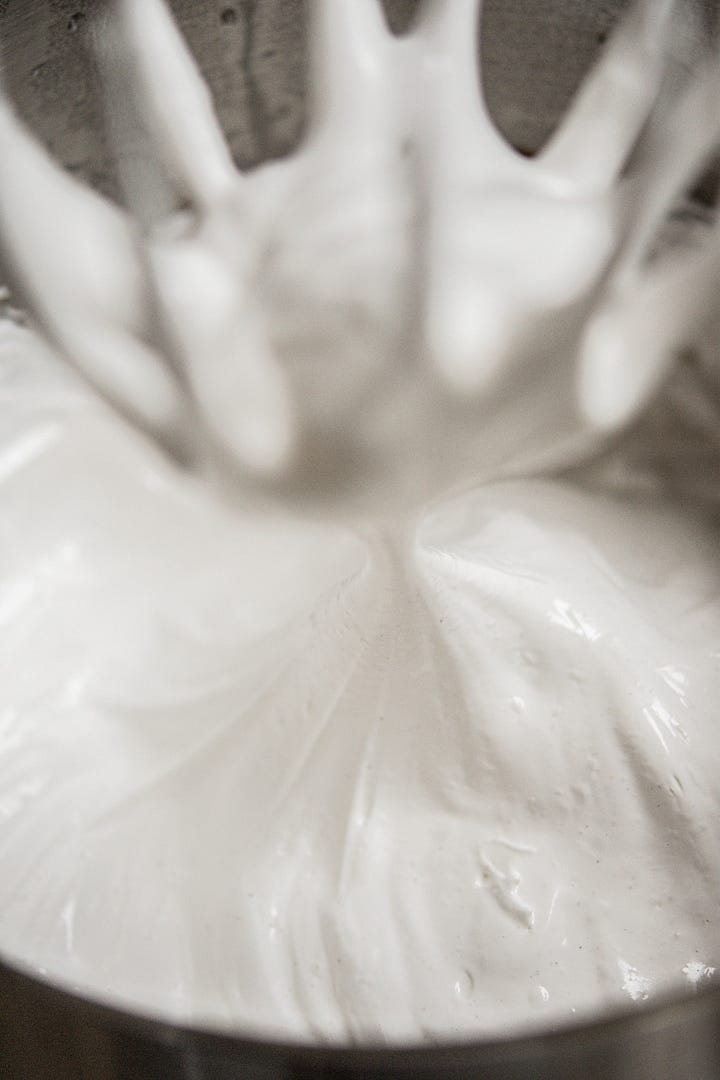
Add the whisk attachment to your stand mixer and and turn it onto low speed. Drizzle the hot sugar mixture into the gelatin mixture. Gradually increase to high speed and whisk for around 7-10 minutes until the mixture is thick, fluffy, and tripled in volume. Add the vanilla extract near the end. The bowl should still be lukewarm to the touch.


Pour and scoop the mixture into the prepared pan and use a greased offset spatula to smooth it out.
Let the marshmallows set for around 4 hours, then turn them onto a surface dusted with a mix of powdered sugar and cornflour. Use a greased sharp knife or cookie cutters to cut into desired shapes. Toss each marshmallow in additional powder to prevent sticking.


An Extra Bite
If you’re a free subscriber to my Recipe Newsletter, you’ll continue to receive a free recipe emailed weekly. I also have an “Extra Bite" monthly subscription plan for those who crave a bit more! This gives you continuous access to all the recipes in my growing archives—ad-free, plus bonus recipes.
Thank you so much to those who support this newsletter through a paid subscription. Now let’s dive into these mallow puffs!
Keep reading with a 7-day free trial
Subscribe to My Recipe Newsletter to keep reading this post and get 7 days of free access to the full post archives.


